 For more information on enabling this
feature, contact your sales account representative or our technical
support team on the Customer Care Portal.
For more information on enabling this
feature, contact your sales account representative or our technical
support team on the Customer Care Portal.
Use Management Portal to create schedules for users recording presentations on their desktop using Mosaic. The schedule and the presentations created with it will be associated with the user profile and will be visible to the user when they log into Mosaic. Like recording with a hardware Recorder, using a schedule automates the presentation creation process for Mosaic users using pre-defined presentation properties. Once the recording is complete, the user can upload their presentation to My Mediasite manually or automatically.
For more information on enabling this
feature, contact your sales account representative or our technical
support team on the Customer Care Portal.
Considerations when creating schedules for Mosaic user profiles
•Mosaic must be licensed to use this feature.
•User profiles must be validated and assigned Mosaic Operator permission.
•You will not specify stream settings or server groups since Mosaic uses the values specified in the My Mediasite application settings (Settings > Application Settings > My Mediasite).
•Live broadcasts are not supported.
To add a schedule for a Mosaic user:
1. Add presentations as described in Add schedule for a Recorder with the adjustments described below.
2. Click the Schedule Options tab and specify the scheduling details:
|
Options |
Details |
|
Mosaic User Profile |
Select this radio button to create schedules for a Mosaic user recording presentations from their desktop. |
|
Mosaic User Profile Options |
The only task that is available for this schedule type is Create and open. |
|
User Profile |
Select the user profile that will be associated with the schedule. |
|
Sender’s Email Address |
Enter the email address that will be used to send out notifications when a new presentation is created. |
|
Invitees |
Enter the email addresses for the people to whom notifications will be sent when a new presentation is created. Enter only one address per line. |
|
Notify presenter(s) on presentation creation |
Select the check box to send the recurring presentation’s primary presenter a notification email each time a presentation is created by the scheduler. |
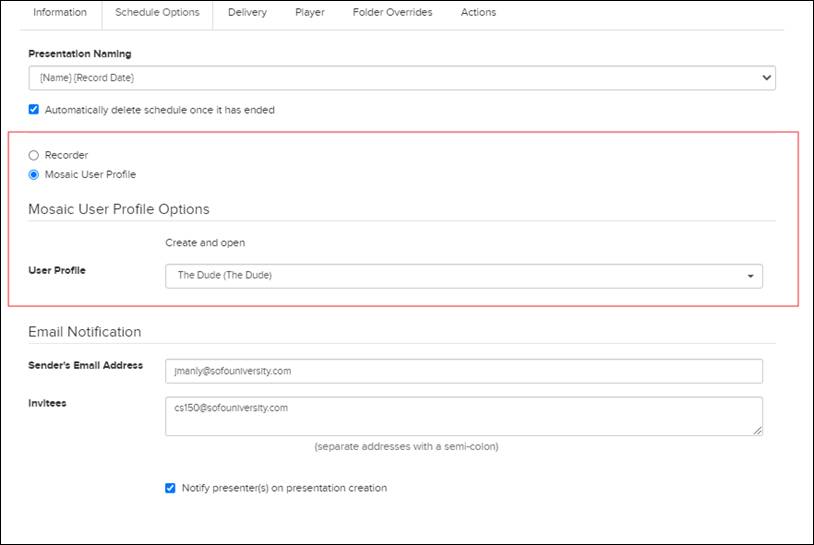
Add Mosaic user profile schedule, Schedule options
3. Click Save. The new schedule is now available on the Schedules page. When the scheduler creates new presentations for this schedule, they are listed in the folder and on the schedule’s properties page. When the user logs into Mosaic they will receive a notification that a scheduled presentation is available for recording.
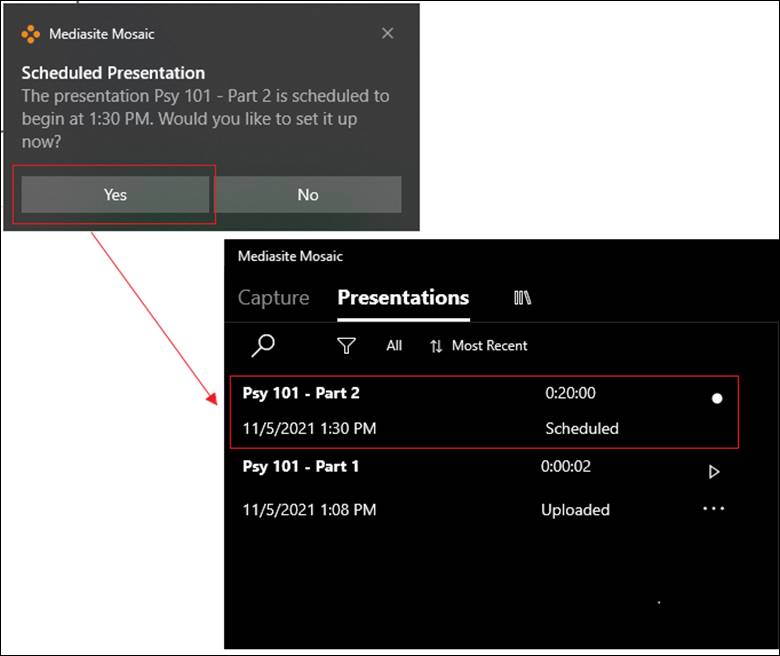
Sample scheduled presentations in Mosaic
4. Once you save the schedule, additional player settings become available that allow you to customize the player.
5. On the schedule’s summary page, click the Edit tab.
6. Click the Player tab and navigate to the bottom of the page where you will find the new General Layout and Graphics settings.
7. From the Background Style list, choose the option you want. Additional options will appear based on your choice.
|
Color |
Select this option to change the background color from the default color (black). Click the color preview swatch to the left to choose a color in the color grid or enter the color code (hex) in the field. |
|
Image |
Select this option to use a custom image as the background. When the Background Image setting appears, click Select to file to navigate to and select the file containing the 1920x1080 image you want to use. A preview of the selected image is displayed below. If you select the wrong image, use the drop-down list to select Delete and remove the file. |
8. Under the Graphics > Top Banner settings, click Select a file to navigate to and select the file containing the 480x60 image you want to use.
9. In the Top Banner URL field, enter the URL of the website you want users to go to when they click on the banner.
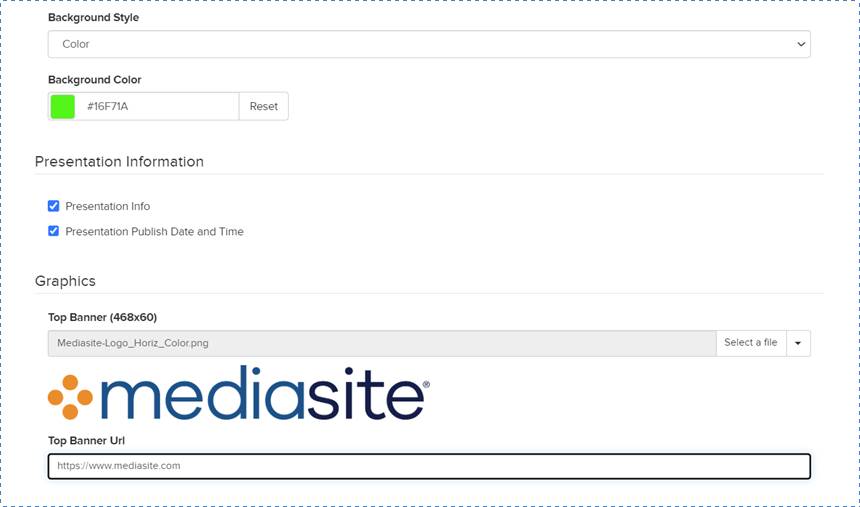
Template summary page, Player settings
10. Click Save.