You will use Mediasite Capture to record audio, video, and slides from your desktop and upload the resulting recording to Mediasite. Since Mediasite Capture is browser-based, you do not need to install software to use it.
Add Presentation: Record video using Mediasite Capture
 If this feature is not
available on your Mediasite, contact your Mediasite administrator for more
information. Find instructions on using Mediasite Capture here.
If this feature is not
available on your Mediasite, contact your Mediasite administrator for more
information. Find instructions on using Mediasite Capture here.
To record a video using Mediasite Capture:
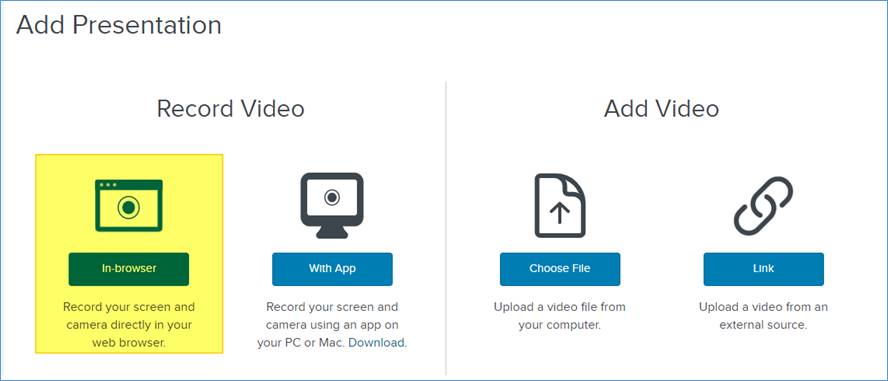
1. Click Add Presentation. Under Record Video, click In-browser to open the New Presentation Details window.
2. Enter a name and description for your presentation.
3. In the Destination area, choose where you want your presentation to be stored.
•Store presentation in draft location: My Draft is the default destination for your presentations. When you store a presentation in your draft location, it is only visible to you. Until you are ready to share your presentation with others or publish it, we recommend keeping it here.
•Choose a new location: Select the second radio button and click Change to specify a new destination for your presentation. In the Destination Search dialog, select User channel or Shared Folder from the Destination Type drop-down list. Enter the name of channel or folder and click Search. Select the location you want.
For more information on shared folders
and channels, see “Add presentations to shared
folders” and “Publish to channels.”
4. Click Create and Launch to launch Mediasite Capture in a new browser tab and start recording.
5. Once the recording process is completed, the recording is uploaded and processed. All presentations are Private until you set them to be visible.
6. Update, share, and publish your recorded presentation as needed to make it available to your audience.