When you create a new item (schedule, template, presentation, content server, etc.) in Management Portal, the system automatically adds it to the folder in which you initiate the task. However, you can always move items to a different folder. You can use the menu items or drag and drop items to a new folder.
Move using menu item
To move items using menu:
1. Right-click the folder containing the items you want to move, select Browse, and then select the item you want in the list. For example, to move presentations, select Browse > Presentations.
2. Select the check box next to each item you want to move and select More > Move.
3. Select the destination folder and click OK.
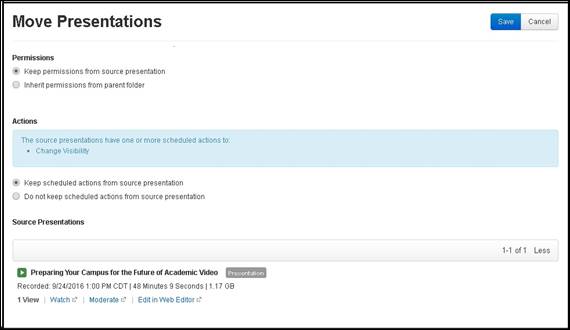
4. In the Move Presentations dialog, specify what permissions and actions (if applicable) will be used for the presentation once it is moved:
|
Settings |
Details |
|
Permissions |
•Keep permissions from source presentation: Select this option to keep all permissions already assigned to the presentation. •Inherit permissions from parent folder: Select this option to have the presentation inherit the permissions on the destination folder. |
|
Actions |
•Keep scheduled actions from source presentation: Select this option to keep all actions scheduled for the presentation. •Do not keep scheduled actions from source presentation: Select this option to remove all actions from the presentation. You can then schedule new actions. |
5. Click Save.
Drag and drop presentations
To move items by dragging and dropping them:
1. Select the check boxes next to all the items you want to move.
2. Click one of the selected items and still pressing on the mouse drag the selected items to their new folder.
3. In the Move Presentations dialog, specify what permissions and actions (if applicable) will be used for the presentation once it is moved.
4. Click Save.

Management Portal: Move folders and presentations using drag and drop